We all know that in the learning process we engage in certain behaviors because those behaviors have been reinforced. Something nice has occurred when we have behaved in a certain way. Other behaviors are not engaged in because those behaviors have been punished – something unpleasant has occurred, or quite often nothing has happened at all. By considering which behaviors lead to pleasant consequences and which behaviors lead to unpleasant or neutral consequences, every human is constantly learning.
Recently there have been those who have attempted to advance the idea that teachers shouldn’t use methods of reinforcement or punishment to manipulate student behavior. This opinion indicates an inadequate understanding of the principles of behavior. Every interaction that we have involves reinforcement or punishment, whether the process is overt enough for us to be aware of or not.
Advantages of positive reinforcement
Reinforcement has several advantages over punishment/nagging:
- Reinforcement can be used to teach a new skill and to encourage its use. Punishment procedures teach students what behaviors to avoid, not what to do.
- Reinforcement procedures can teach the student to behave even when the teacher is not in the room because at some point the new behavior acquires its own reinforcing qualities. Punishment only works if the teacher is around to enforce the consequences.
- Reinforcement used effectively makes long lasting changes in student behavior. Punishment doesn’t.
- Reinforcement procedures bring about positive feelings. Punishment procedures will never lead to positive feelings.
At least three positives for every correction
 It has been clear for a long time that at a minimum of a 3:1 positive to negative interaction ratio is necessary for long term success in the classroom. Teachers must overtly recognize appropriate behaviors at least three times more frequently than they recognize or attend to behaviors they don’t want. If teachers’ interactions with their students are less frequently positive than 3 to 1 then students will not be focused on appropriate behavior. Less frequently positive than that and students will not think they are being good and therefore won’t be motivated to continue being good. Less frequently positive than that and teachers will be primarily attending to, and thereby reinforcing, inappropriate behavior.
Benefits of the Teacher vs Student Game
It has also been clear for a long time that one of the best ways to be certain that the ratio is in place is by use of the Teacher/Student Game, AKA the Teacher/Kid game, the Me/You game. While this “game” has been around for a long time, its fundamental usefulness as a student motivation and management tool is often overlooked. This game has several important benefits, especially for teachers who need to improve the effort, motivation, and behavior of their students.
- The Teacher/Student Game allows the teacher to have a visual record of the amount of reinforcement and recognition being given—so the teacher can see when he/she needs to increase it.
- The game allows the teacher to provide an immediate consequence for inappropriate behavior, but a very mild consequence, and one that can be delivered in a friendly-upbeat kind of way.
- This procedure allows the teacher to provide social reinforcement for specific behaviors—but provide it to the group, thereby improving group solidarity.
- Playing this allows the teacher to keep track of the ongoing ratio of interactions during the lesson. If the teacher sees that interactions regarding inappropriate behaviors are increasing—he/she will have to diligently increase the frequency of “catching them being good.”
- Because of the social nature of the game, it is not always necessary to “pay off” with tangible reinforcers.
Setting up the Teacher vs Student Game
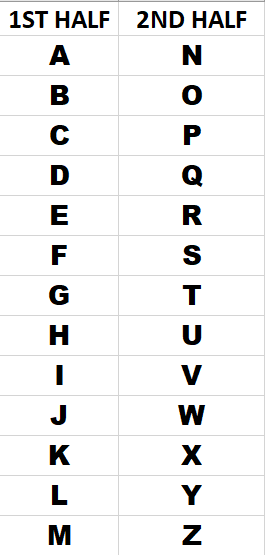
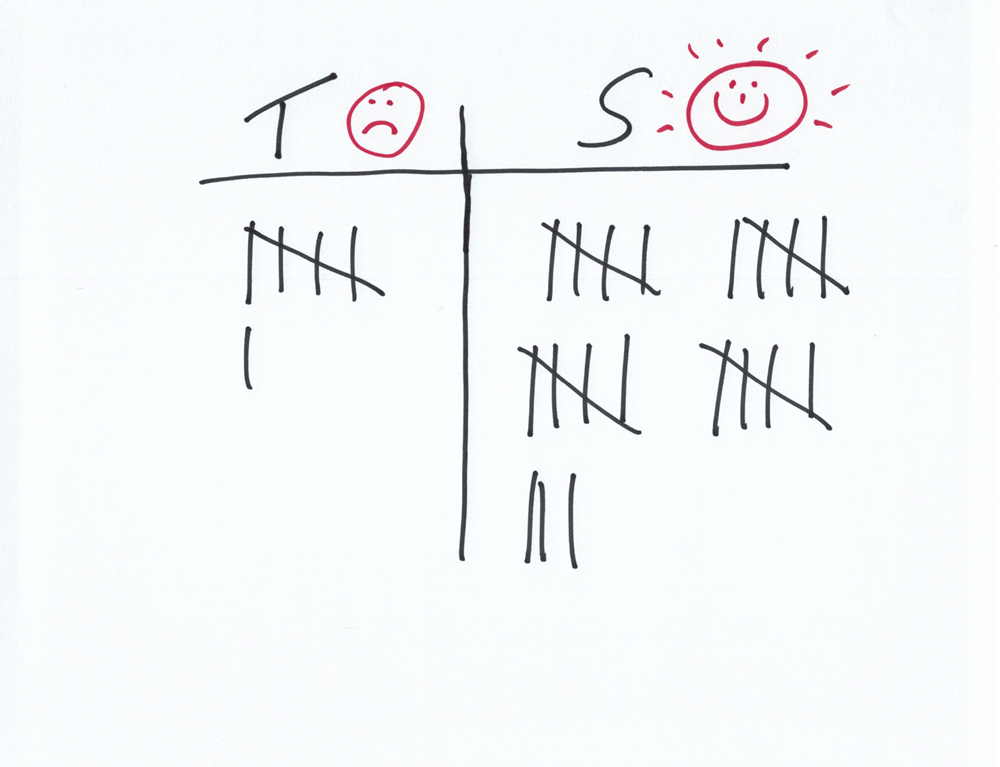
So how does one set up this amazing behavior-monitoring-and-improving game? To set up the game prior to class starting, the adult draws a “score board” somewhere (anywhere! paper, white board, blackboard, etc.). See the example above. The scoreboard must be both visible to the students and easily accessible so the teacher can award points to the class or him/herself as frequently as needed.
At the very beginning of the lesson, during the lesson introduction, the teacher tells the students that they will be playing the Teacher/Student Game and goes over the expectations as part of explaining how the game will work. At the beginning of the school year, this is the time when the rules/expectations for the particular setting (small group instruction, whole class instruction, etc.) are taught to mastery. As the year goes on, the expectations for the setting are mentioned as a “reminder.” The initial set-up with the kids could go something like this:
“We’re going to play a game, me against you. I think I can win because I’m really smart and I win this game A LOT! Here is how it works: You get points for getting things right, and for following the rules which are (Replace with your expectations here.) everyone answering the first time on signal, everyone keeping their eyes on the lesson, and everyone waiting their turn to talk. But I get points whenever someone forgets the rules or makes a mistake. I bet I’m going to win. I’m really good at this game!”
Begin immediately awarding points for good behavior
Right away, as you are naming your expectations, the children will straighten up and pay careful attention. Immediately give their team a point, dispiritedly, saying something like:
“Oh Gosh! You guys have your eyes on me so well I have to give you a point. You’re already ahead! But I know you’re going to forget the rules and then I’ll win!”
Of course, the children immediately begin enjoying their lead in the game and begin feeling proud of their accomplishment. And if you are disappointed and ham it up a bit—the children begin to have fun, while they try even harder to beat you.
As soon as the lesson starts, give the students points for meeting all of your expectations—before they have a chance to forget. Give them points for answering correctly, keeping their eyes on the lesson, etc. and tell them what it is that they did to earn the points.
“Oh my! I’m going to have to give you another point because everyone waited to be called on. Darn! You’re ahead, but I’m going to catch up soon!”
Gleefully give yourself points for every off-task behavior
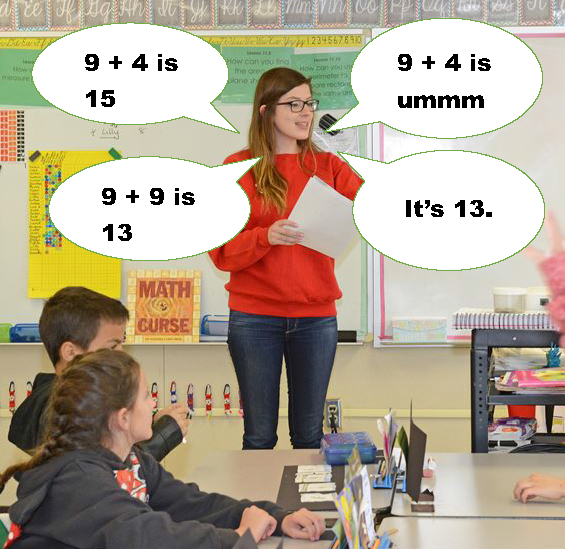
Give yourself a point energetically, obnoxiously and gleefully whenever, even one child, needs a question repeated, doesn’t have his/her eyes on the book, interrupts you, talks to a neighbor, etc. When you give yourself the point (Keep the score board VERY public!) tell the group:
“Yea! I get a point because someone talked out [or whatever the misdeed is]. I knew I was going to win!”
Be obnoxiously cheerful about getting a point. Make sure that you are so annoying that they really want to beat you! If you do this right, they will hate letting you have even one point and so will be motivated to monitor their own behavior closely and follow the rules carefully.
Many teachers who are reluctant to give themselves points, end up ignoring minor misbehaviors. Some teachers may be afraid to discourage the children or want the children to have more points and be enthused. However, this is exactly the wrong way to play the game. Instead, the teacher should catch EVERY infraction and take EVERY point possible. This will enforce high standards and make the children adhere to excellent behavior.
Be vigilant to “catch ‘em being good!”
Remind yourself that you want to increase the positive behaviors, so you have to notice them and give points for them. Catch, comment on, and give points for students being good at least three times as often as you have to give yourself a point. Focus hard to catch students answering correctly, demonstrating attending behavior, tracking in their books, looking at the Teacher Presentation Book, answering on signal, etc. Comments must be brief, exciting, and clearly identify both the behavior and the student.
The rule is to keep the ratio of positives up—at least 3 times more responses to good behavior than infractions you catch. Catch every infraction, but then catch three times more instances of students doing the right thing. The less mature the group, the more frequently you are going to have to reinforce correct behavior—until they get into the groove. A teacher working to bring a primary age group under control might need to find 50 or 60 instances of students doing the right thing, and give them positive comments in a 30 minute period. This is hard work, but it pays off, because student behavior will improve to the point that lessons will go smoothly.
Remember, you must “ham it up” and act discouraged when you give the group points and they continue to beat you. You’re always going to lose the game—but you will be winning in your classroom.